Adding and Customizing Icons
How to add and customize icons with accompanying text in the Zephyr editor.
Written By Danny Schaffer
Icons in Zephyr will allow you to add icons with associated text.

To use Icons in the email editor:
Click on Content tab at the top right, and expand the Additional Elements content category.
Drag and drop an Icons content block into your marketing piece.
Click on the icons block that you have added, and you'll see the Icons Properties tab open on the right.
Click Add new icon for as many icons as you wish
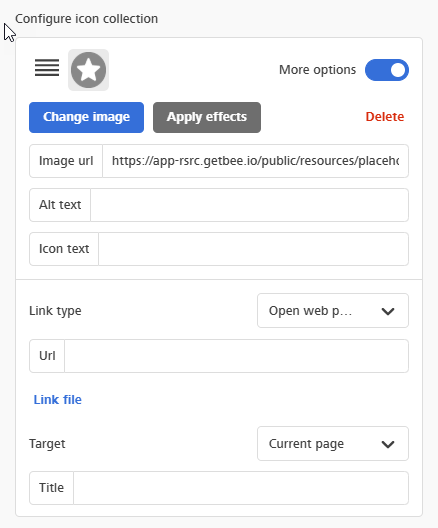
Select Icon images by clicking Change Image or an icon. You can upload your own icons or choose pre-built Icons in the Icons folder in the File Manager’s home navigation.
Insert the icon(s) you would like to use.
Note: Once your icon is in place, you can optionally add some accompanying text to that icon.
Click More options at the top right next to each of those icons, and then add your text to the Icon text area.
After adding the text, you can choose where that text will lie in relation to the icon -- top, bottom, left, or right.
Add a Link in the URL field.
Add text to the Target - Title area to set what text you’d like to display when someone hovers over the icon.
If you have added text, you can customize the text font, size, and styling below.
Adjust the Size, Spacing, and Padding of the icons in relation to each other.
Head to the Block Options area at the bottom to customize the padding in relation to the edge of the content area.