How do I create a Company Scheduled Send? (Zephyr Builder)
How to create and schedule a Company Scheduled Send in Zephyr Builder, sent automatically on behalf of your agents.
Written By Danny Schaffer
So you’re an admin looking to send out a company announcement, newsletter, open house guide, or holiday piece on behalf of your agents in the Zephyr toolset...
How do you do that?
Well, it is a two-part process. Those parts being:
Creating a Static Template
Activating and Scheduling a Static Template
Creating a Static Template
First, you’ll want to make sure that you have a template built for you to use. Already got one? Great!
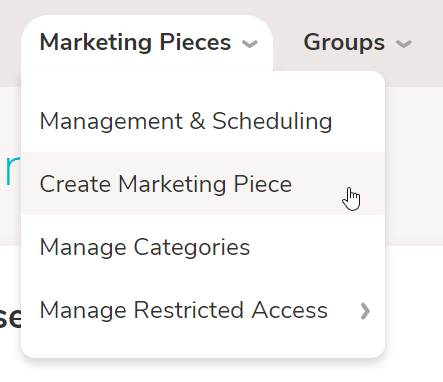
Head to Lead Nurture >> Create Marketing Piece
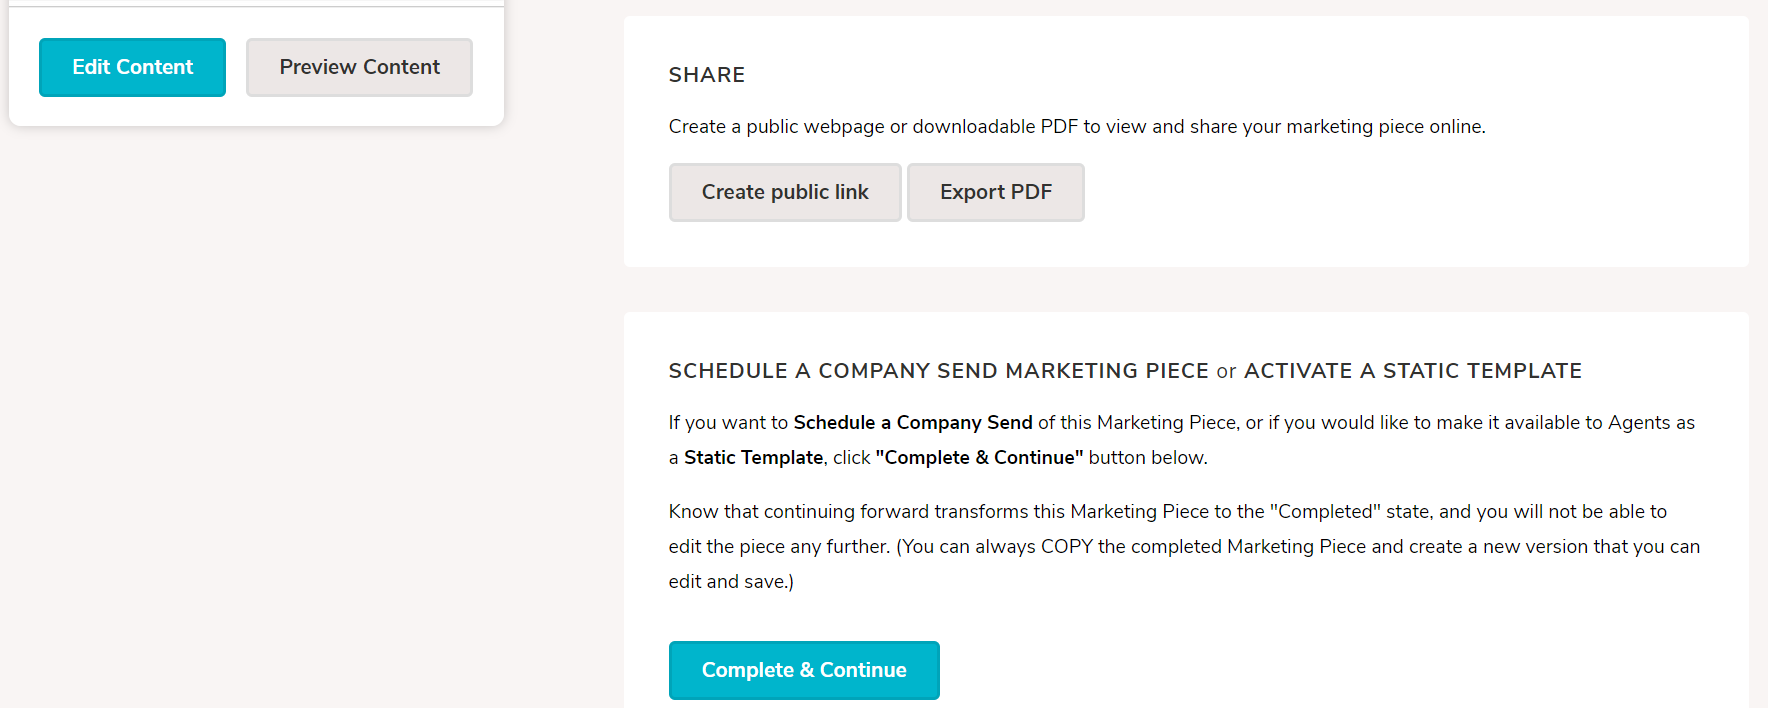
On the Create Marketing Piece| Edit page, you’ll be able to set a name for your new Static Template. If you need to make any additions to the original template, click the Edit Content button underneath the thumbnail image to enter the Zephyr Editor and make the final changes to your piece. Once everything looks exactly as you want it in the final Company Scheduled Send piece going out to your agents’ Primary Sphere Distribution List, click Save in the piece to go back to the Create Marketing Piece| Edit page.

Finally, scroll down to the section titled SCHEDULE A COMPANY SEND MARKETING PIECE or ACTIVATE A STATIC TEMPLATE. Click the Complete & Continue button to create a new Static Template, which we’ll show you how to schedule below.
Activating and Scheduling Static Template
Now that you have your Static Template created, you'll be brought to the Template Details page. From this page, we'll Activate and Schedule the template.
Activating a Template
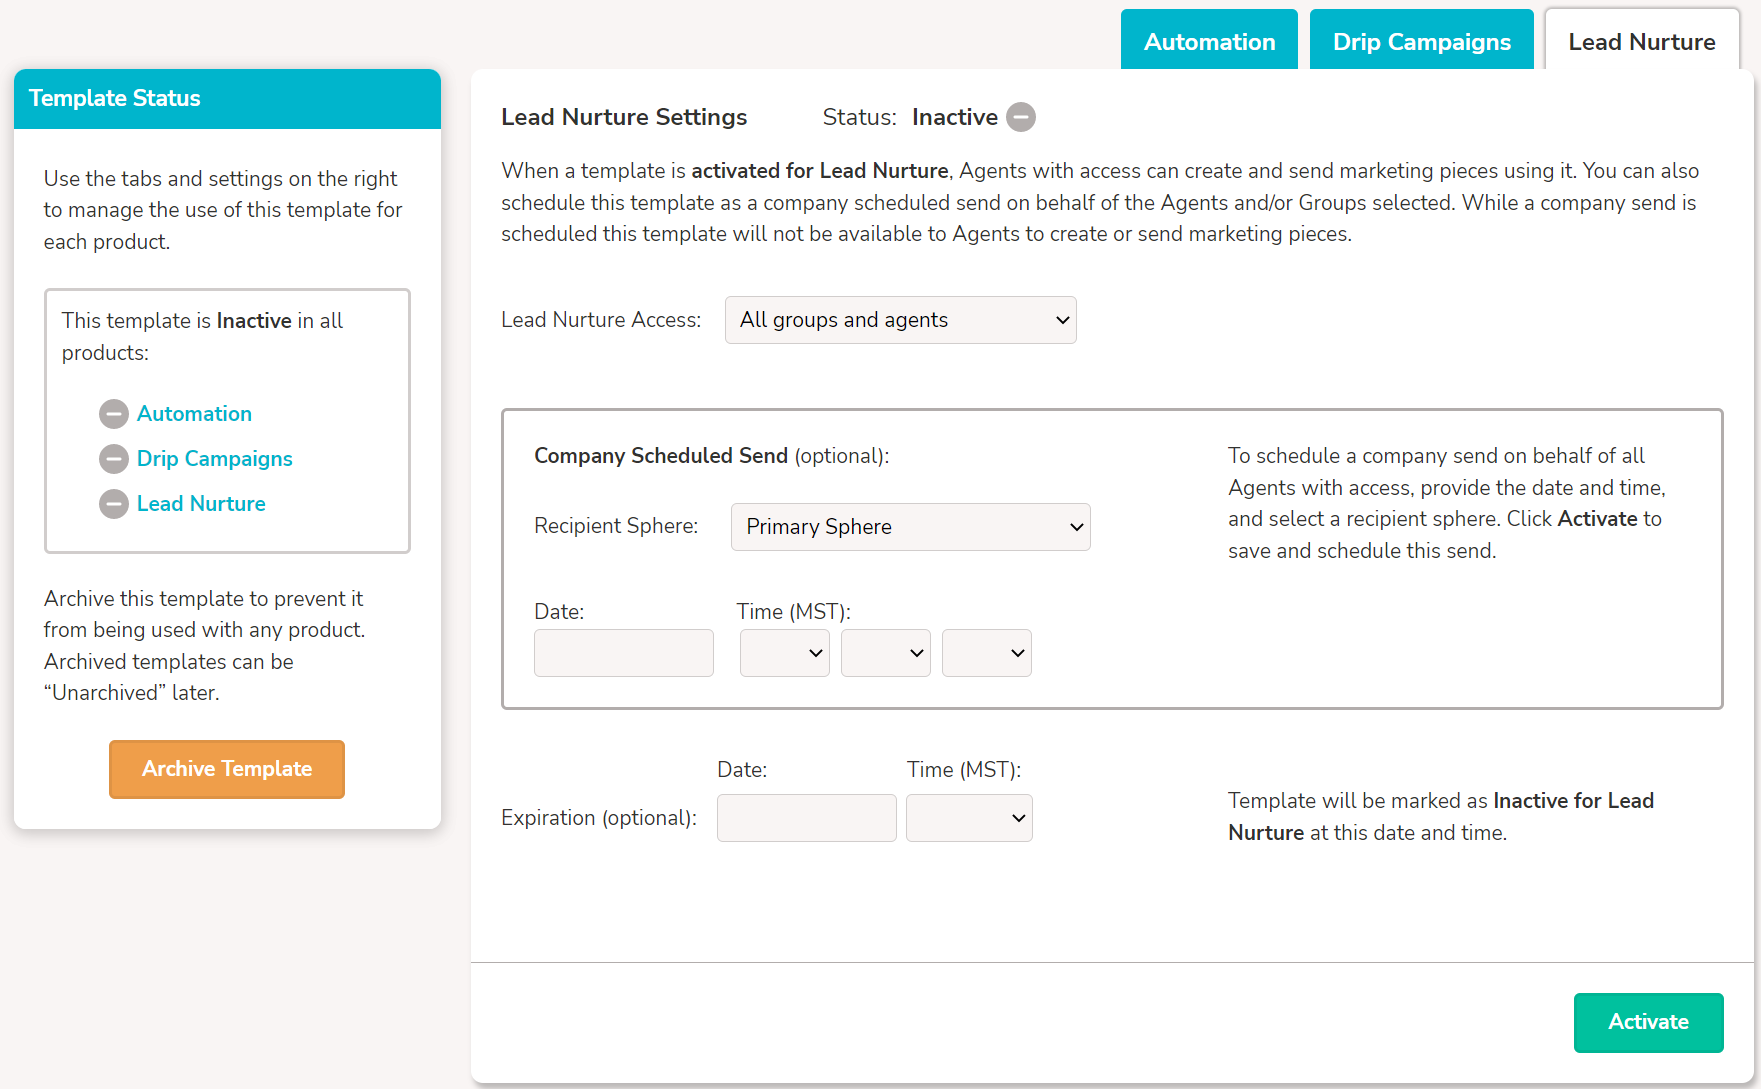
On the Template Details page, make sure your Subject Line is correct. If you’re simply looking to provide folks with a static template, you'll simply scroll down and select 'Activate'.
Optional: Restricting the Send
In some cases, you only want to schedule a piece for a single agent or group. To make sure you're only sending through the desired accounts, click the drop-down menu next to 'Lead Nurture Access', and select the appropriate restriction.
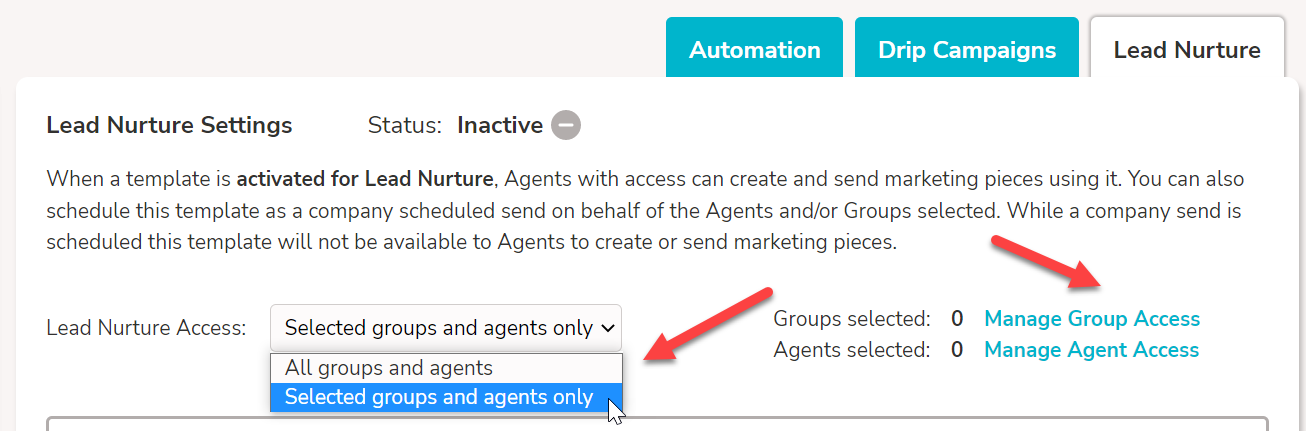
After selecting your restriction, you'll be able to click the blue "Manage Access to Groups" and "Manage Access to Agents" options to then grant access to the restricted piece. Once done, make sure to save your changes!
Scheduling a Template
Some folks just want to make a static piece available to agents for agents to use manually.
But not us, no way!
We want to schedule this piece to go out. Because of that, we'll select a Recipient Sphere, then we’ll enter a Date and Time, and save our changes once more. Once saved, click 'Activate' to finalize the scheduling. You can optionally also set an Expiration date to mark the template as Inactive for the Lead Nurture product on that date.
After clicking Schedule a Company Send, you’ll get a confirmation pop-up. Now you can bask in the glory of the Company Scheduled Send that you just created. To view it, in all its glory, head to the Lead Nurture page. You’ll see your newly scheduled Company Send in the Upcoming Scheduled Market Pieces area.
Company Scheduled sends will follow each agent’s “Lead Nurture” settings, notifying the agent (or not) and sending the email (or not sending it) per their specific settings.