Setting up Authenticator App Access to rezora
Set up Authenticator app access to generate sign-in codes directly on your device instead of receiving them by email or text.
Written By Danny Schaffer
In this video, we detail how to set up Authenticator app access to a rezora account for an individual or a team. If you're more of a text-based learner, continue scrolling to view the article.
If you are a team or an individual with the inkling, you can set up Authenticator app access to your rezora account. Instead of receiving verification codes via email or text message, you will generate them directly on your device of choice.
Multiple people can scan the same Authenticator QR code to all have access to generate codes for the account at the same time.
Start the process by downloading and setting up the authenticator app of your choice, if you don't already have one. Google Authenticator, Microsoft Authenticator, and Authy are all great options.
Once you've got an Authenticator App downloaded:
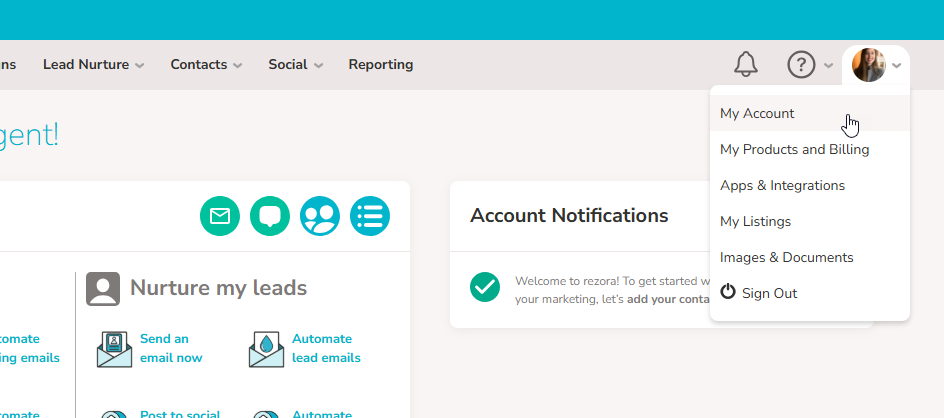
Head to your My Account page under the profile menu.
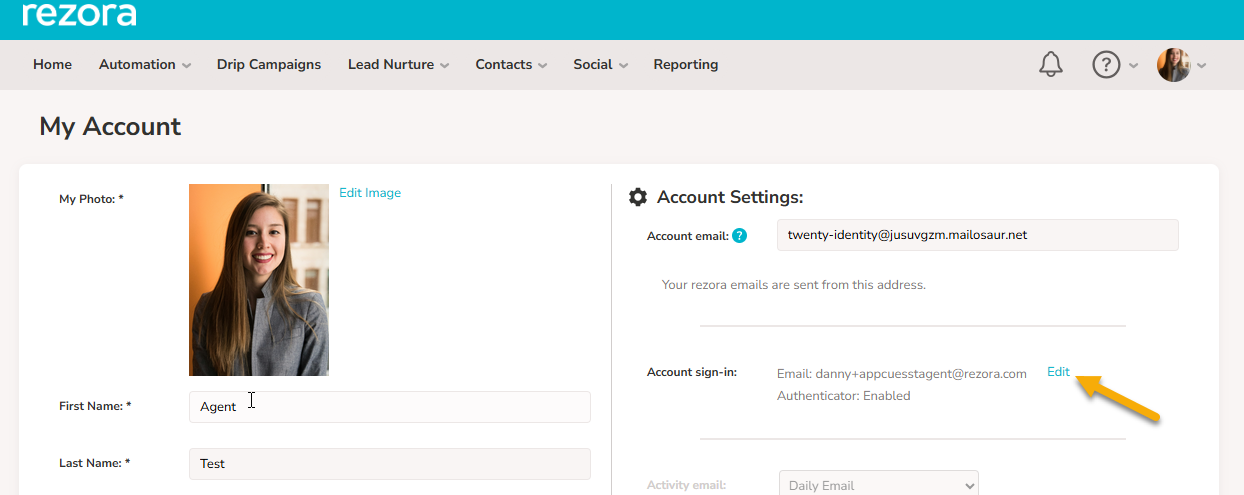
Look for the "Account sign-in" area and click "Edit"
Note: As with any change to sign-in options, you'll need to have a very fresh login to make changes, for security purposes. If you've been in the account for a while already, you'll need to first sign in with one of the existing options for the account. - Select an existing option like "Use my email address" 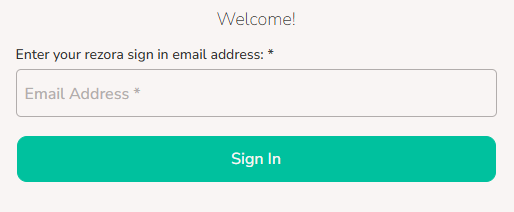 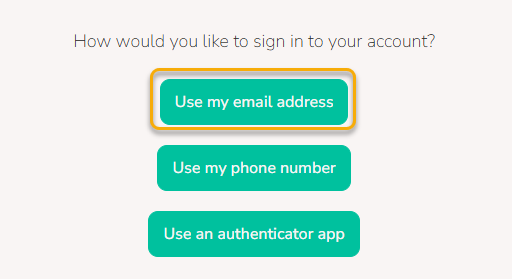 |
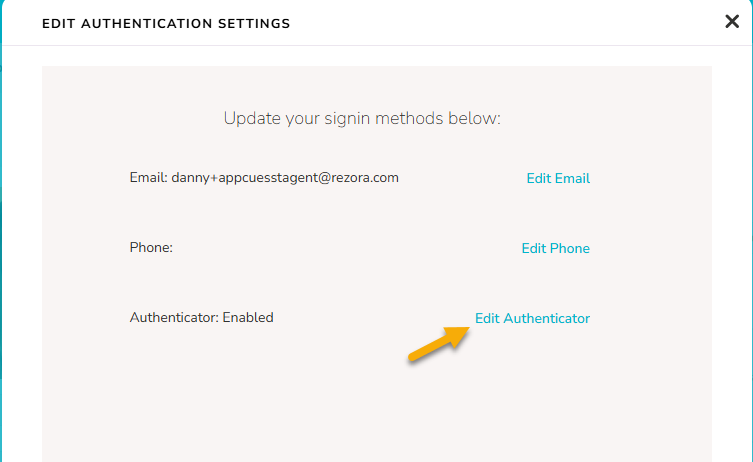
Click Add Authenticator (or Edit Authenticator if one is already set up - note this invalidates any previous authenticator app setup).
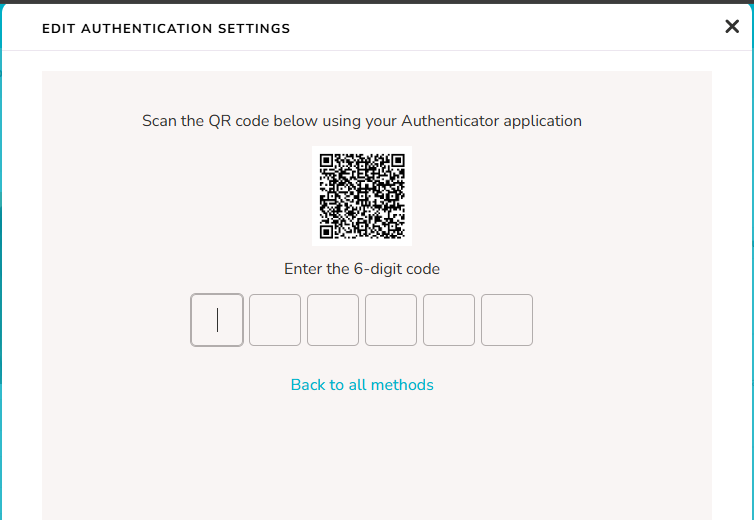
Scan the QR code with your authenticator app, then enter the 6-digit code to confirm setup.
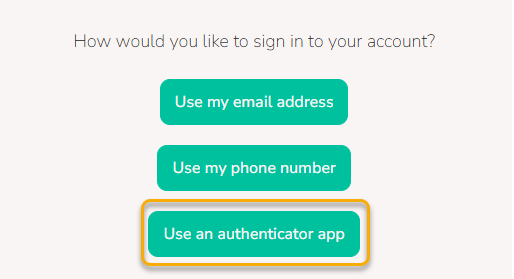
You now have Authenticator App access set up for your account. In the future, when signing in, you can select the "Use an authenticator app" access option: