How do I change my sign-in options?
Instructions on how to reach the area to update your sign-in methods, followed by instructions for email, phone, and authenticator app sign-in methods.
Written By Danny Schaffer
Reaching the “Update your sign-in methods” area
Your sign-in options are all controlled on your My Account page.
Sign in to your account via a method you currently have enabled.
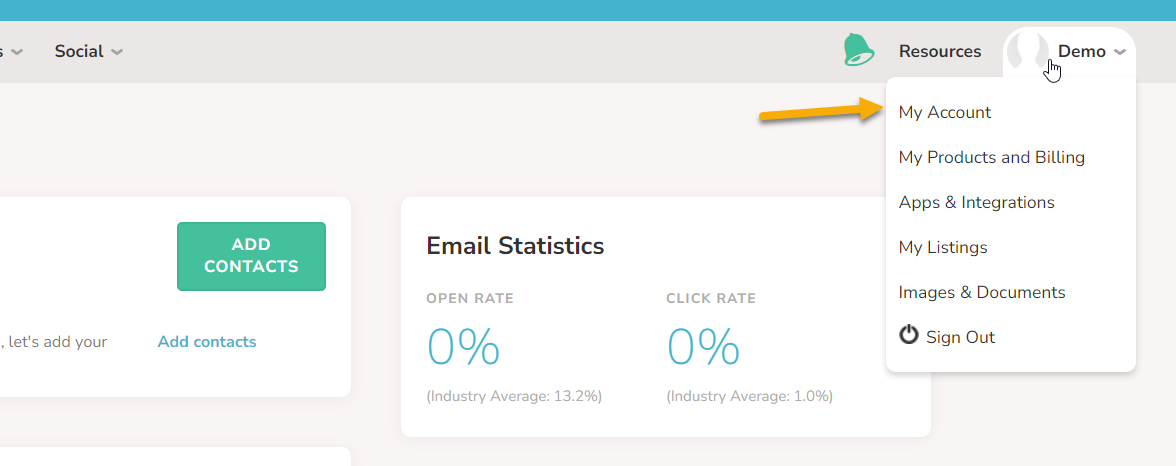
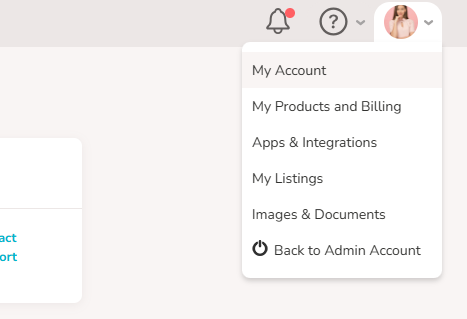
Hover over your profile image at the top right of the site and click My Account
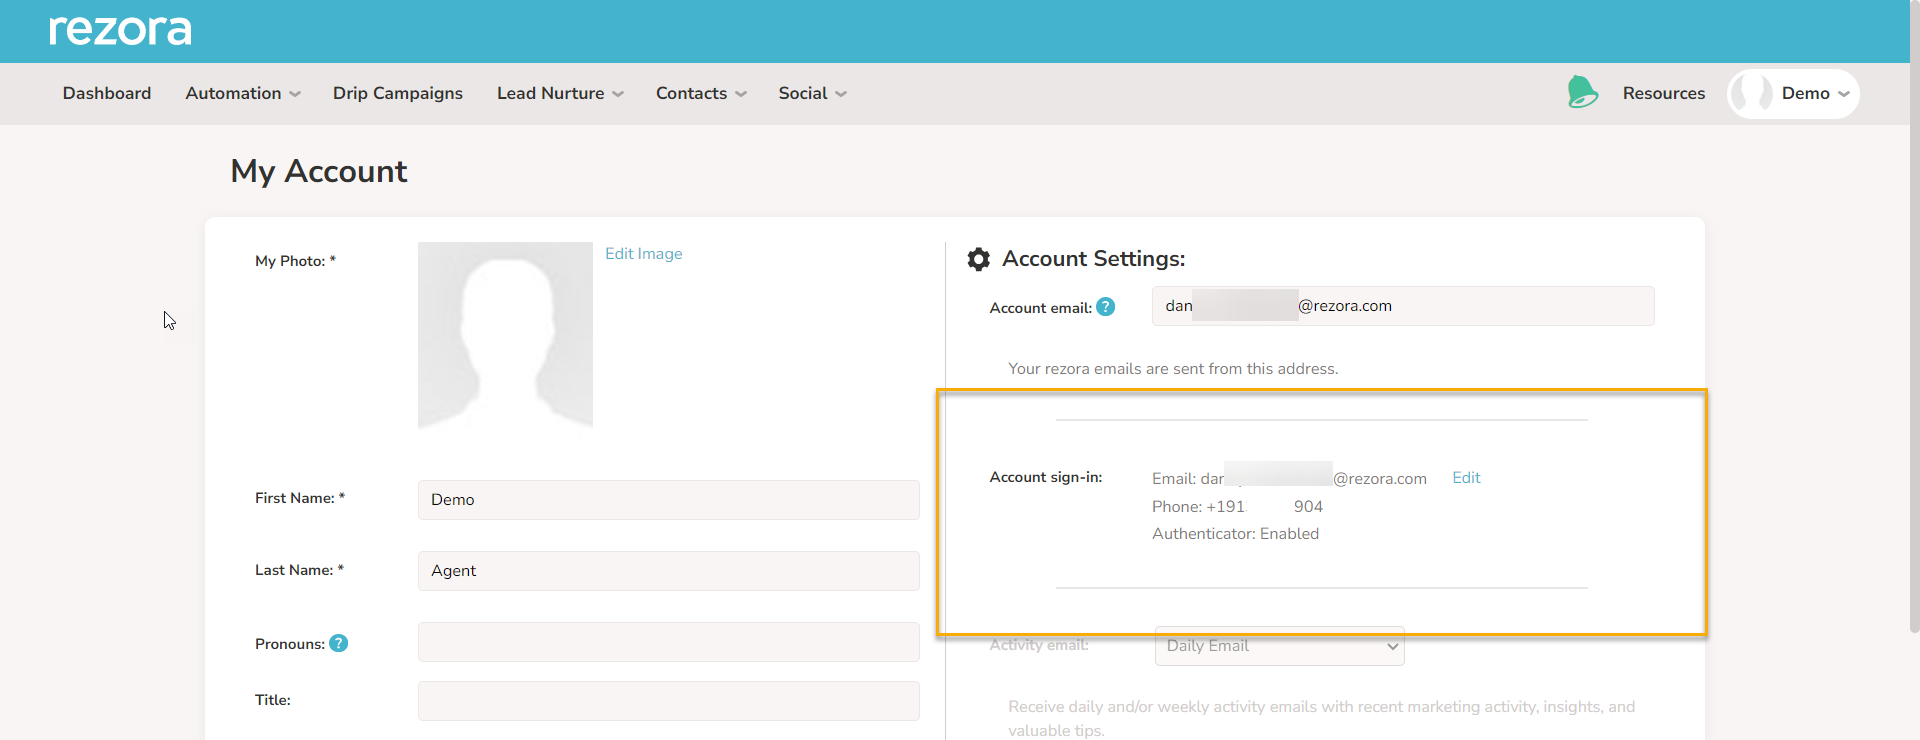
Look to the right side for the "Account sign-in:" area:
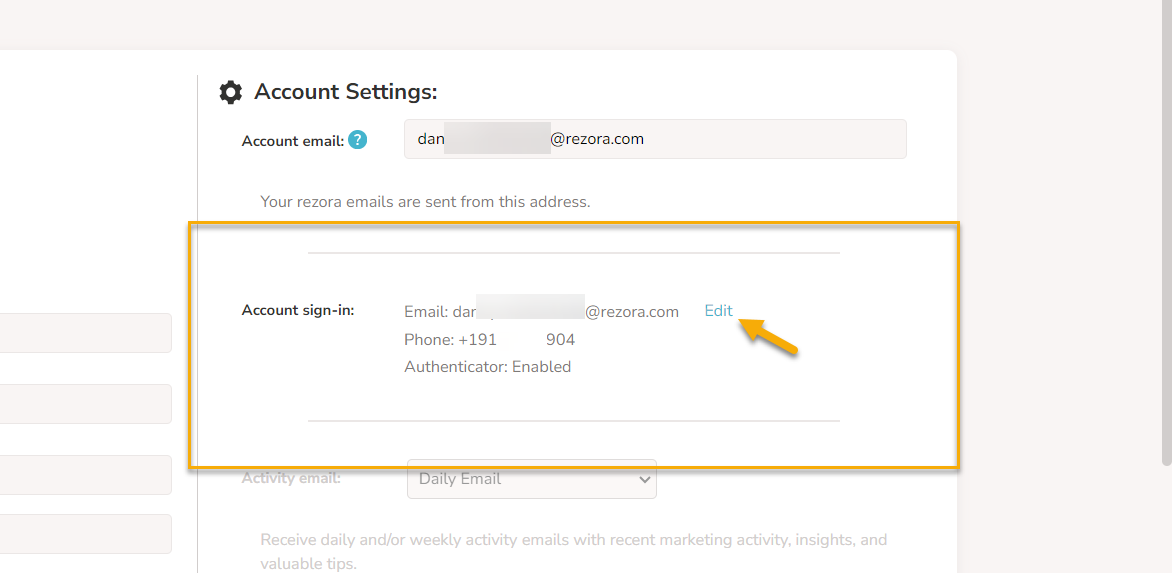
Click the "Edit" button.
Note: Admins who have assumed into an account will not see the “Edit” button and cannot change sign-in options.
If you haven't recently entered your sign-in information, you'll be asked to sign in again using a method that has already been configured, usually Email
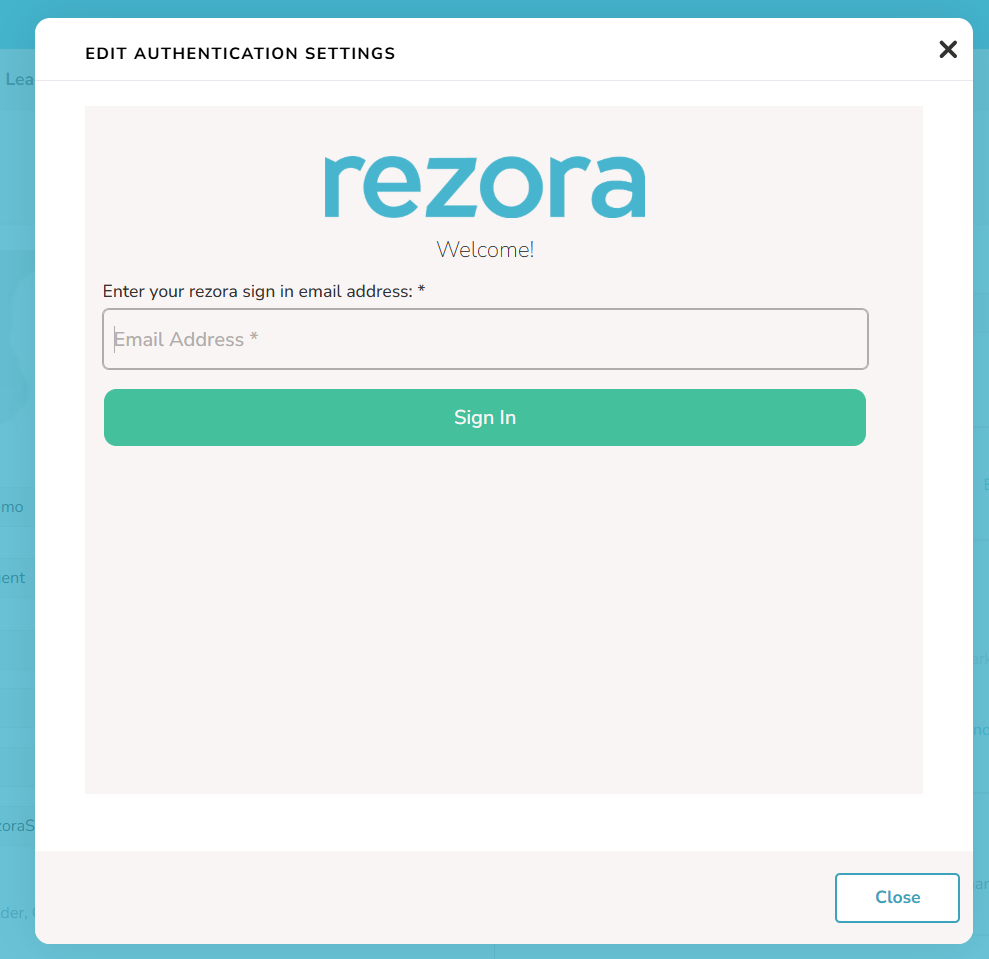
You'll reach the "Edit Authentication Settings" page here, which you can use to update the methods:
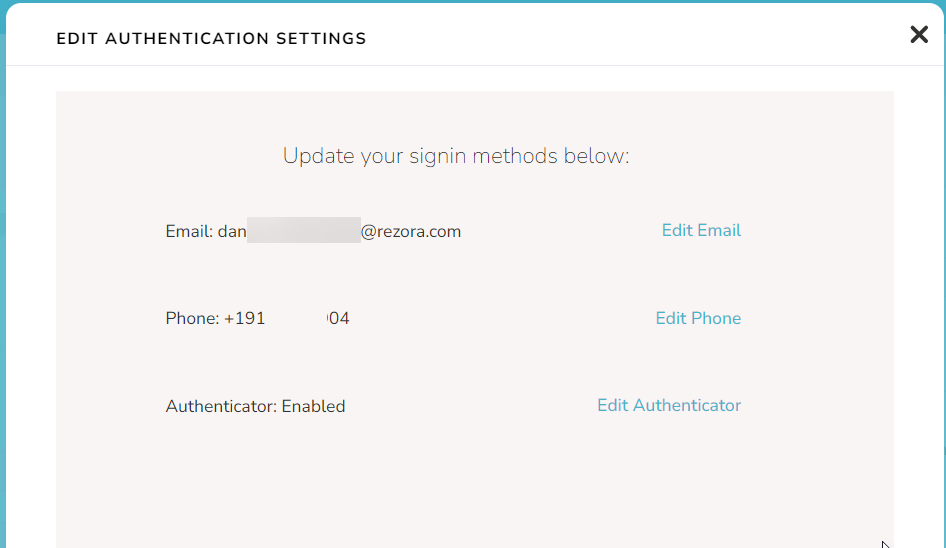
Updating your Email and Phone sign in methods
For email:
Click “Edit Email”
Input the new email address
Look in the address for the verification code email
Enter the verification code to complete the change.
For Phone (text message):
Click “Edit Phone”
Input the phone number
Check the phone for the verification code
Type the verification code into rezora to complete the change.
The Email field must be unique and not used by any other rezora account. If you attempt to change the username to one already in use, you'll receive an error. You can use a different email address for your Account sign-in email than you use for your Account email (used for sending).
A newly entered Email address and Phone number for the account must first be verified. When you enter a new Email or Phone number, you'll be emailed or texted a verification code at that address. Enter the verification code to complete the update.
Updating your Authenticator App sign-in option
For an Authenticator app:
Click “Edit Authenticator”
Scan the QR code in the authenticator app of your choice.
Enter the verification code generated in your authenticator app into rezora to activate the method.
Keep in mind that all individuals who need to access the account need to scan the same QR code. If you generate another QR code for the authenticator connection, it will replace the original. Some example Authenticator apps are Google Authenticator, Microsoft Authenticator, and Authy, all of which work with this setup!