What are Dynamic Tags and how do I use them? (Zephyr Builder)
In the company admin template builder, dynamic tags are used to populate content from a different source when the template is later used by an agent account to create an email. Use them to simplify the content creation process for your agents.
Written By Danny Schaffer
Dynamic Tags allow you to pull in information from sources like a Listing, Article, or Agent Profile within a template. They are utilized within Text Content Blocks, when linking to a listing website, or when an image has had the "Dynamic Image" toggle activated.
These tags function as "stand-ins" for content and will be replaced with real content when an Agent uses your template to create a new Marketing Piece. They can be used to pull in information from Listings, Agent Profiles, or Articles.
Dynamic Tags can be added to your content in a few different ways. We'll start with Text Content and then move into how to use Dynamic Tags to create Dynamic Images.
How to add a tag to Text Content
The Dynamic Tags Button
When editing a template:
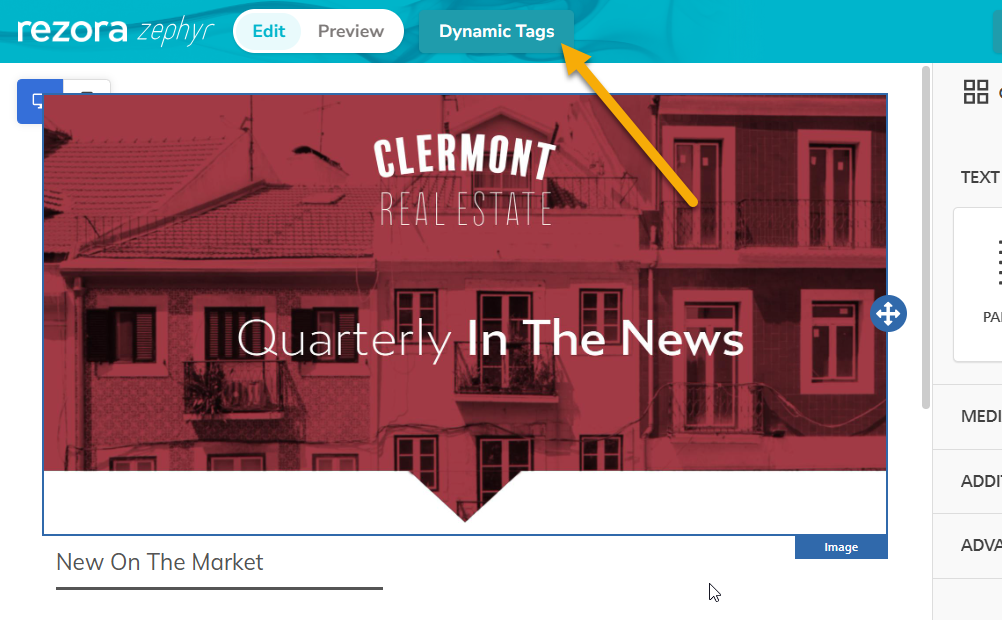
Click the Dynamic Tags button at the top of the builder to access the Dynamic Tags menu.
Browse or search the available options, then click the "Clipboard" icon next to a tag to copy it.
Paste the tag into place using the Paste keyboard shortcut (PC: Ctrl+V -- Mac: Command+V )
Tip: Don't forget to save your row if you'd like to add it to the available Dynamic Content row options for your agents!
Alternate Method: Directly Inside a Paragraph, List, or Heading Content Block
In a text type Content Block (Paragraph, List, or Heading), click the space you’d like to add the tag, then click Dynamic Tags.
Click Dynamic Tags to reach the list of tags. You can use the tag type dropdown menu to select a different category of tag (Agent, Listing, Article, etc).
Click Insert for the tag you’d like to place where your cursor was.
Tip: Don't forget to save your row if you'd like to add it to the available Dynamic Content row options for your agents!

Types of Tags
Tags can pull in information from a few different sources. Here are the current tag "categories" available on the HASHTAGS menu:
Agent - Tags in this category pull in information from the agent's rezora account. Think name, title, email address, profile photo, etc.
Article - Tags in this category pull in information from articles in your selected National, Local, and Custom RSS feeds you have set up for your brokerage.
Listing - Tags in this category pull information directly from listings available to the agent. Think Listing Address, Price, Bed/Bath Count, etc.
Logo - This category will pull your default company logos, with a preview of the logo you're choosing so you can make sure you're choosing the right one.
General - This category is where special tags are contained. Things like the email subject line, current date, etc.

How to use Dynamic Tags to create Dynamic Images
Adding a Placeholder Image
Before you can make an image dynamic to automatically pull in that content, you'll need to add a placeholder image. Ideally, this placeholder will be roughly the same size and aspect ratio of the final image. This placeholder will only be displayed in the Template here in the admin account, not in the final marketing pieces for agents.
Helpful Tip: If your MLS has a standard image ratio, consider using an image from a listing in your MLS as your placeholder. If you have a standard agent headshot size, use an existing agent's photo.
Add an Image Content Block to your row, then click "Browse", locate your file, then click "Insert".
Adding a Dynamic Tag to your Placeholder
Now that your placeholder is in place, click the image again to view the Content Properties menu. Click the "Dynamic image" toggle, then click the Dynamic Tags button at the top of the builder. Find the specific tag you'd like to add and click the clipboard icon to copy it to your clipboard. Head to the Dynamic Url field and paste the tag. With this tag added to the Dynamic Url field, the image is now setup to pull in content when an agent goes to use it.
Helpful Tip: You can use the Dynamic Tags menu search bar to search for the word "photo" to quickly locate an image tag.
Don't forget to save your row if you'd like to add it to the available Dynamic Content row options for your agents!
